Alright, my crafty friends! We all know the struggle of getting those sticker print settings juuuust right on our beloved Cricut machines. But fear not, I’m here to guide you through the process with some handy tips and tricks. Because let’s be real, who wants to deal with faded colors, blurry lines, or misalignment issues? Not this crafter, that’s for sure!
Free Cheat Sheet Below: How To Settings for Cricut Sticker Paper!
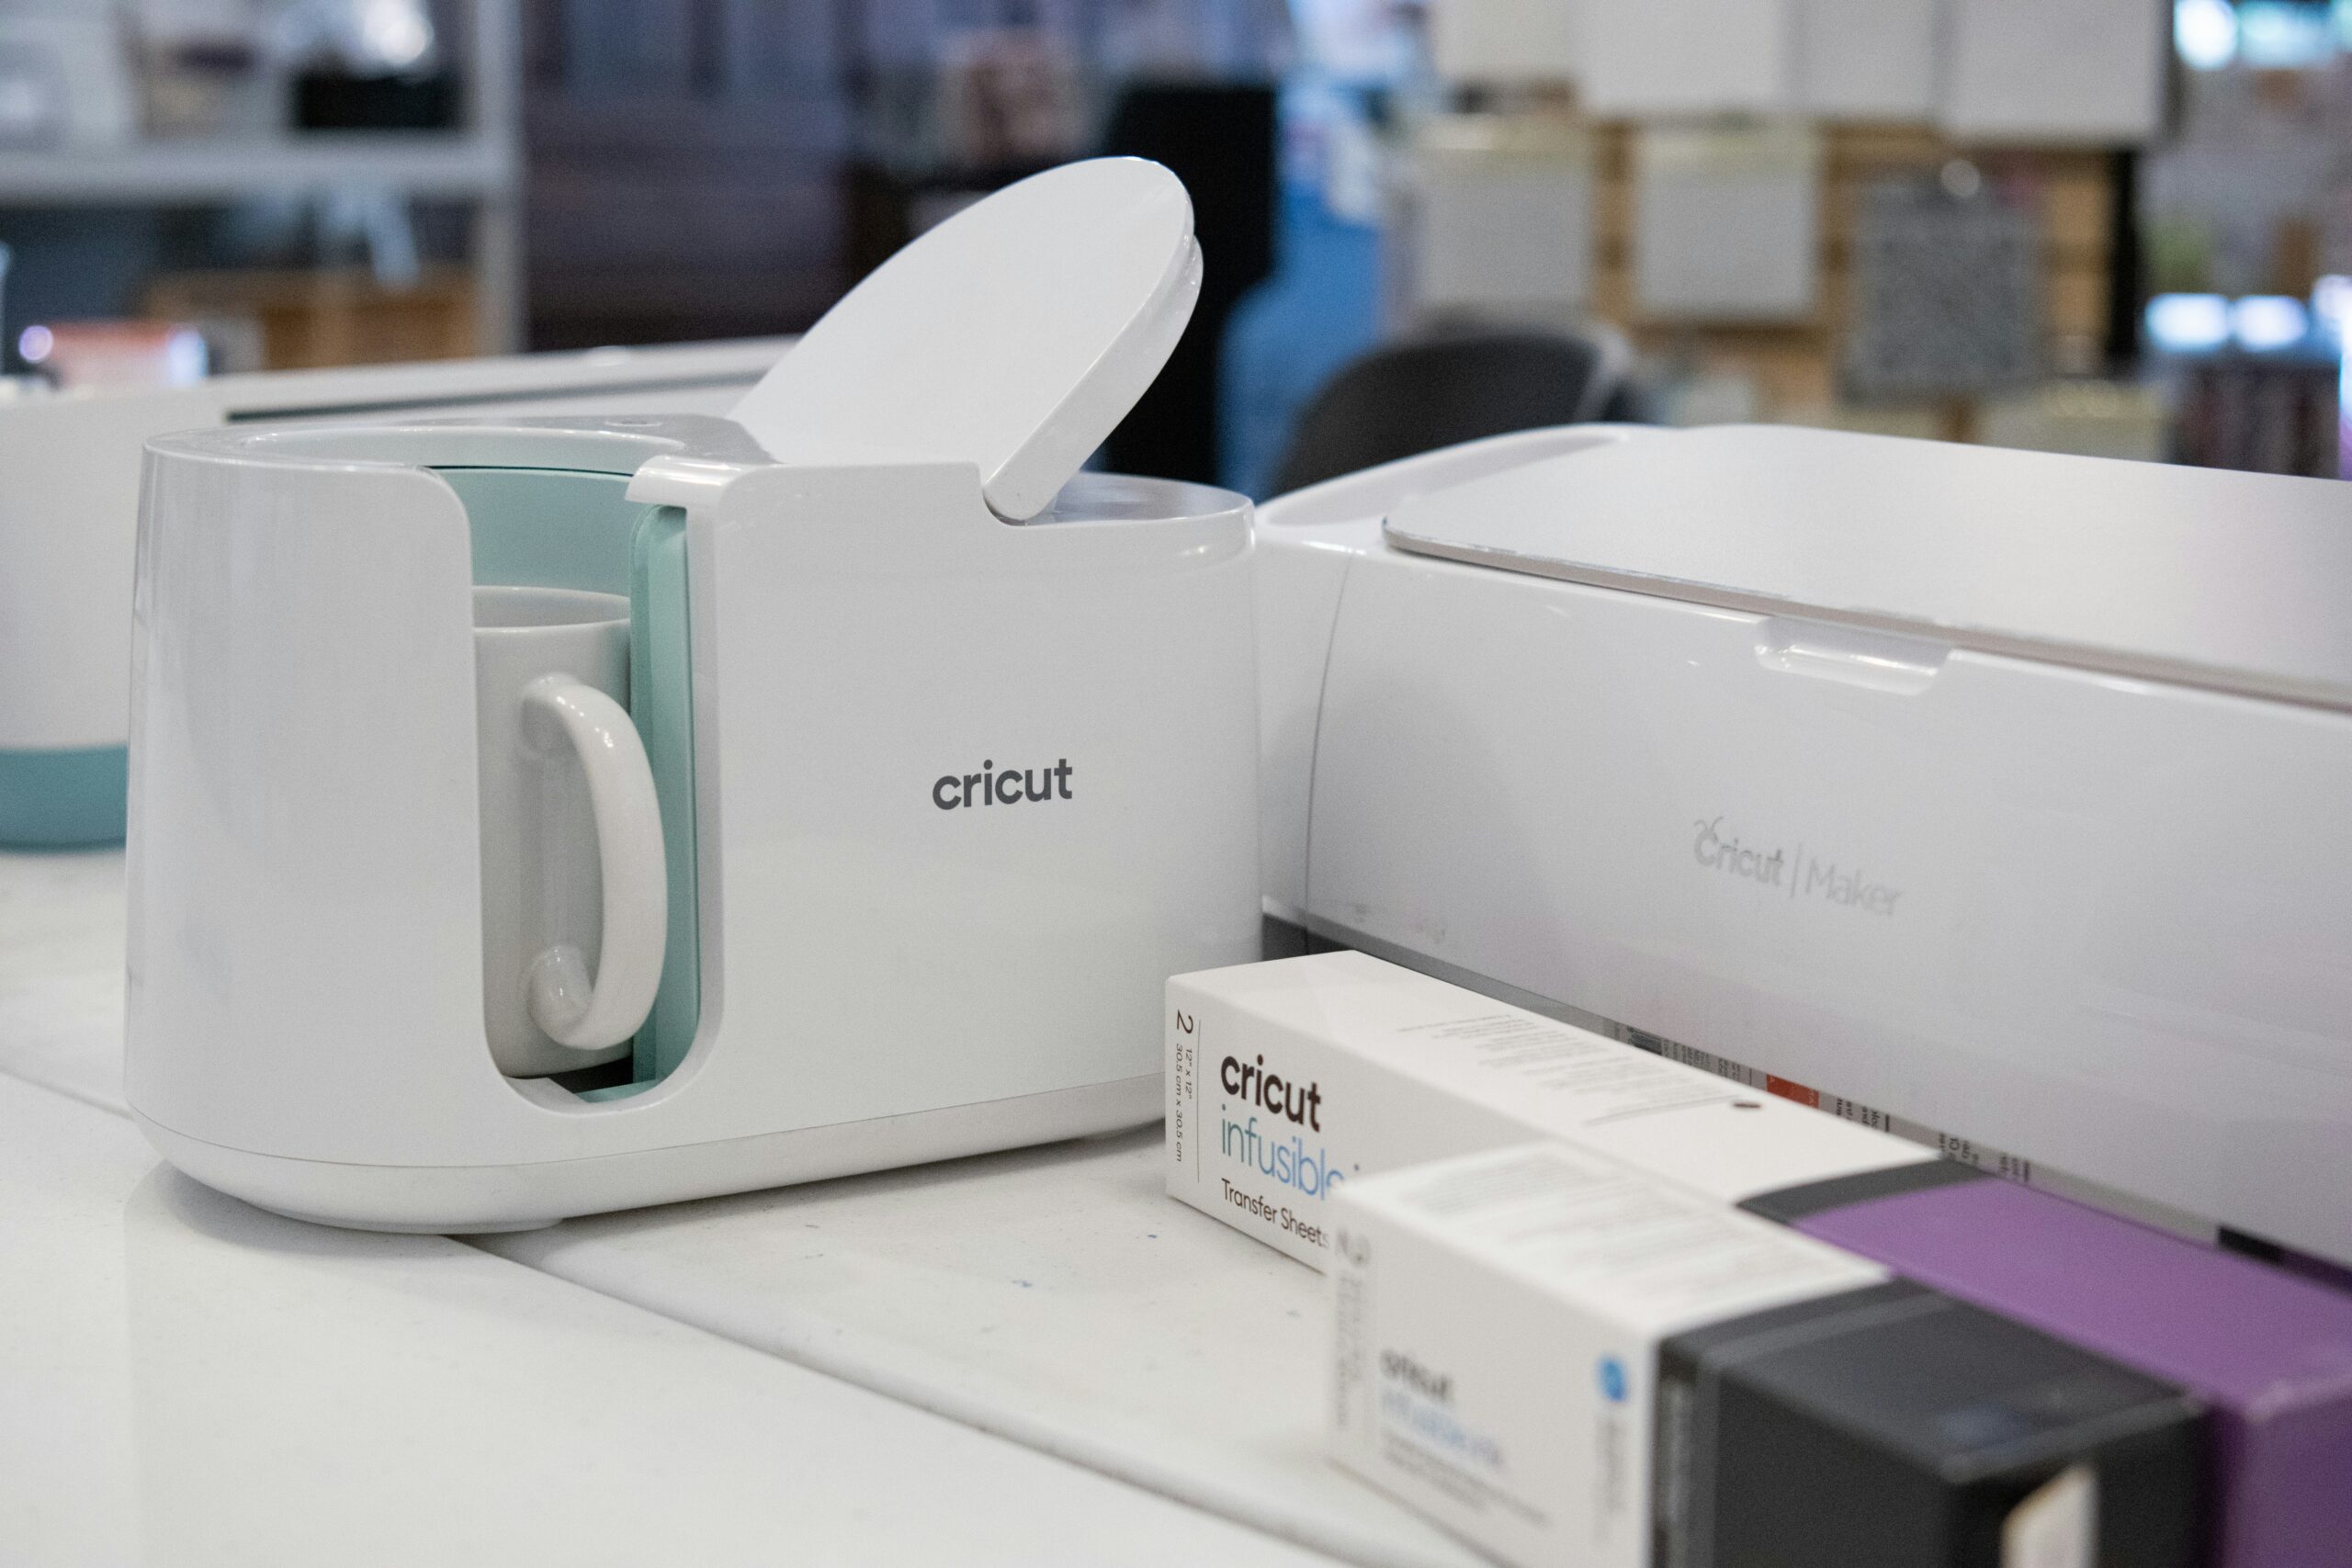
Cricut Maker
Ohh, the mighty Maker! This powerhouse can handle all sorts of materials, including sticker paper and vinyl. Here’s the deal for kiss cut stickers:
- Set that Material to “Sticker Paper,” y’all.
- Crank up the Print Quality to “Best” for vibrant, crisp results.
- Under Linetype, select “Kiss Cut” and adjust that Force until you get a clean cut through the sticker paper without going too deep into the backing.
Now, for die cut stickers:
- Material setting should be “Vinyl.”
- Print Quality can be lower, like “More,” for a speedier print. Time is money, right?
- Linetype needs to be “Die Cut,” and don’t be afraid to increase that Force until it cuts cleanly through the vinyl.
If you’re not getting that perfect cut, here’s what to do:
- Increase or decrease the Force incrementally until it’s just right.
- Double-check that you’ve got the correct material setting selected. Rookie mistake, am I right?
- Do a test cut on a scrap piece first to dial in those settings like a pro.
Pro Tips:
- Use transfer tape for those intricate kiss cut designs. Trust me, it’s a game-changer!
- If the cut and print aren’t lining up, check for Register Scan issues. We don’t want any wonky designs here.
Cricut Explore
The trusty Explore series is a real workhorse. Whether you’re rocking the Air 2 or the Explore 3, here’s the scoop on kiss cut stickers:
- Set that Material to “Sticker Paper.”
- Use “Best” Print Quality for crisp, vibrant results.
- Linetype should be “Kiss Cut.”
- If the cuts are misaligned, don’t panic! Just run a quick calibration, and you’ll be back on track.
For die cut stickers:
- Material setting should be “Removable Vinyl.”
- Lower Print Quality like “More” is A-OK for faster prints.
- Linetype needs to be “Die Cut.”
- Increase that Force until you get a clean cut through the vinyl.
If the cut quality isn’t up to par, try these troubleshooting tips:
- Calibrate the machine using the handy calibration prompt.
- Increase or decrease the Force in small increments until it’s just right.
- Make sure your material is loaded smoothly and aligned properly. We don’t want any wonky cuts here!
And remember:
- If those cuts are too deep into the backing, reduce that Force a bit.
- Clean that printer regularly to avoid any pesky ink bleeds.
Cricut Joy
Don’t underestimate the compact and portable Joy! This little powerhouse is perfect for smaller sticker projects. Here’s the deal for kiss cut stickers:
- Set that Material to “Sticker Paper.”
- Use “Best” Print Quality for top-notch results.
- Linetype should be “Kiss Cut.”
- You might want to reduce the Force slightly for those delicate cuts.
For die cut stickers:
- Material setting needs to be “Smart Vinyl Permanent.”
- Lower Print Quality is A-OK for faster prints.
- Change that Linetype to “Die Cut.”
If you’re having cut issues, try these tips:
- Test different Force settings by increasing or decreasing until it’s just right.
- Make sure that Linetype matches your desired cut style (kiss cut or die cut).
- For intricate designs, try doing kiss cuts instead of die cuts. Sometimes less is more!
Keep in Mind:
- The Joy can only handle materials up to 4.5″ wide, so bigger projects might need a different machine.
- More intricate designs may cut better on those larger Cricuts.
General Tips
- Always do test cuts before your final project. Better safe than sorry, am I right?
- Check those Cricut guides for recommended materials and settings. They know their stuff!
- Clean those machines regularly for optimal performance. A clean machine is a happy machine!
Alright, crafters! With these handy tips and a bit of trial and error, you’ll be creating stunning stickers with crisp edges and vibrant designs in no time. And if you ever run into any snags, just follow those troubleshooting tips and make incremental adjustments until you achieve sticker perfection. Happy crafting, my friends!
FREE
Cheat Sheet: How To Settings for Cricut Sticker Paper!
Pin it, stick it, pocket it for quick reference!


Leave a Reply