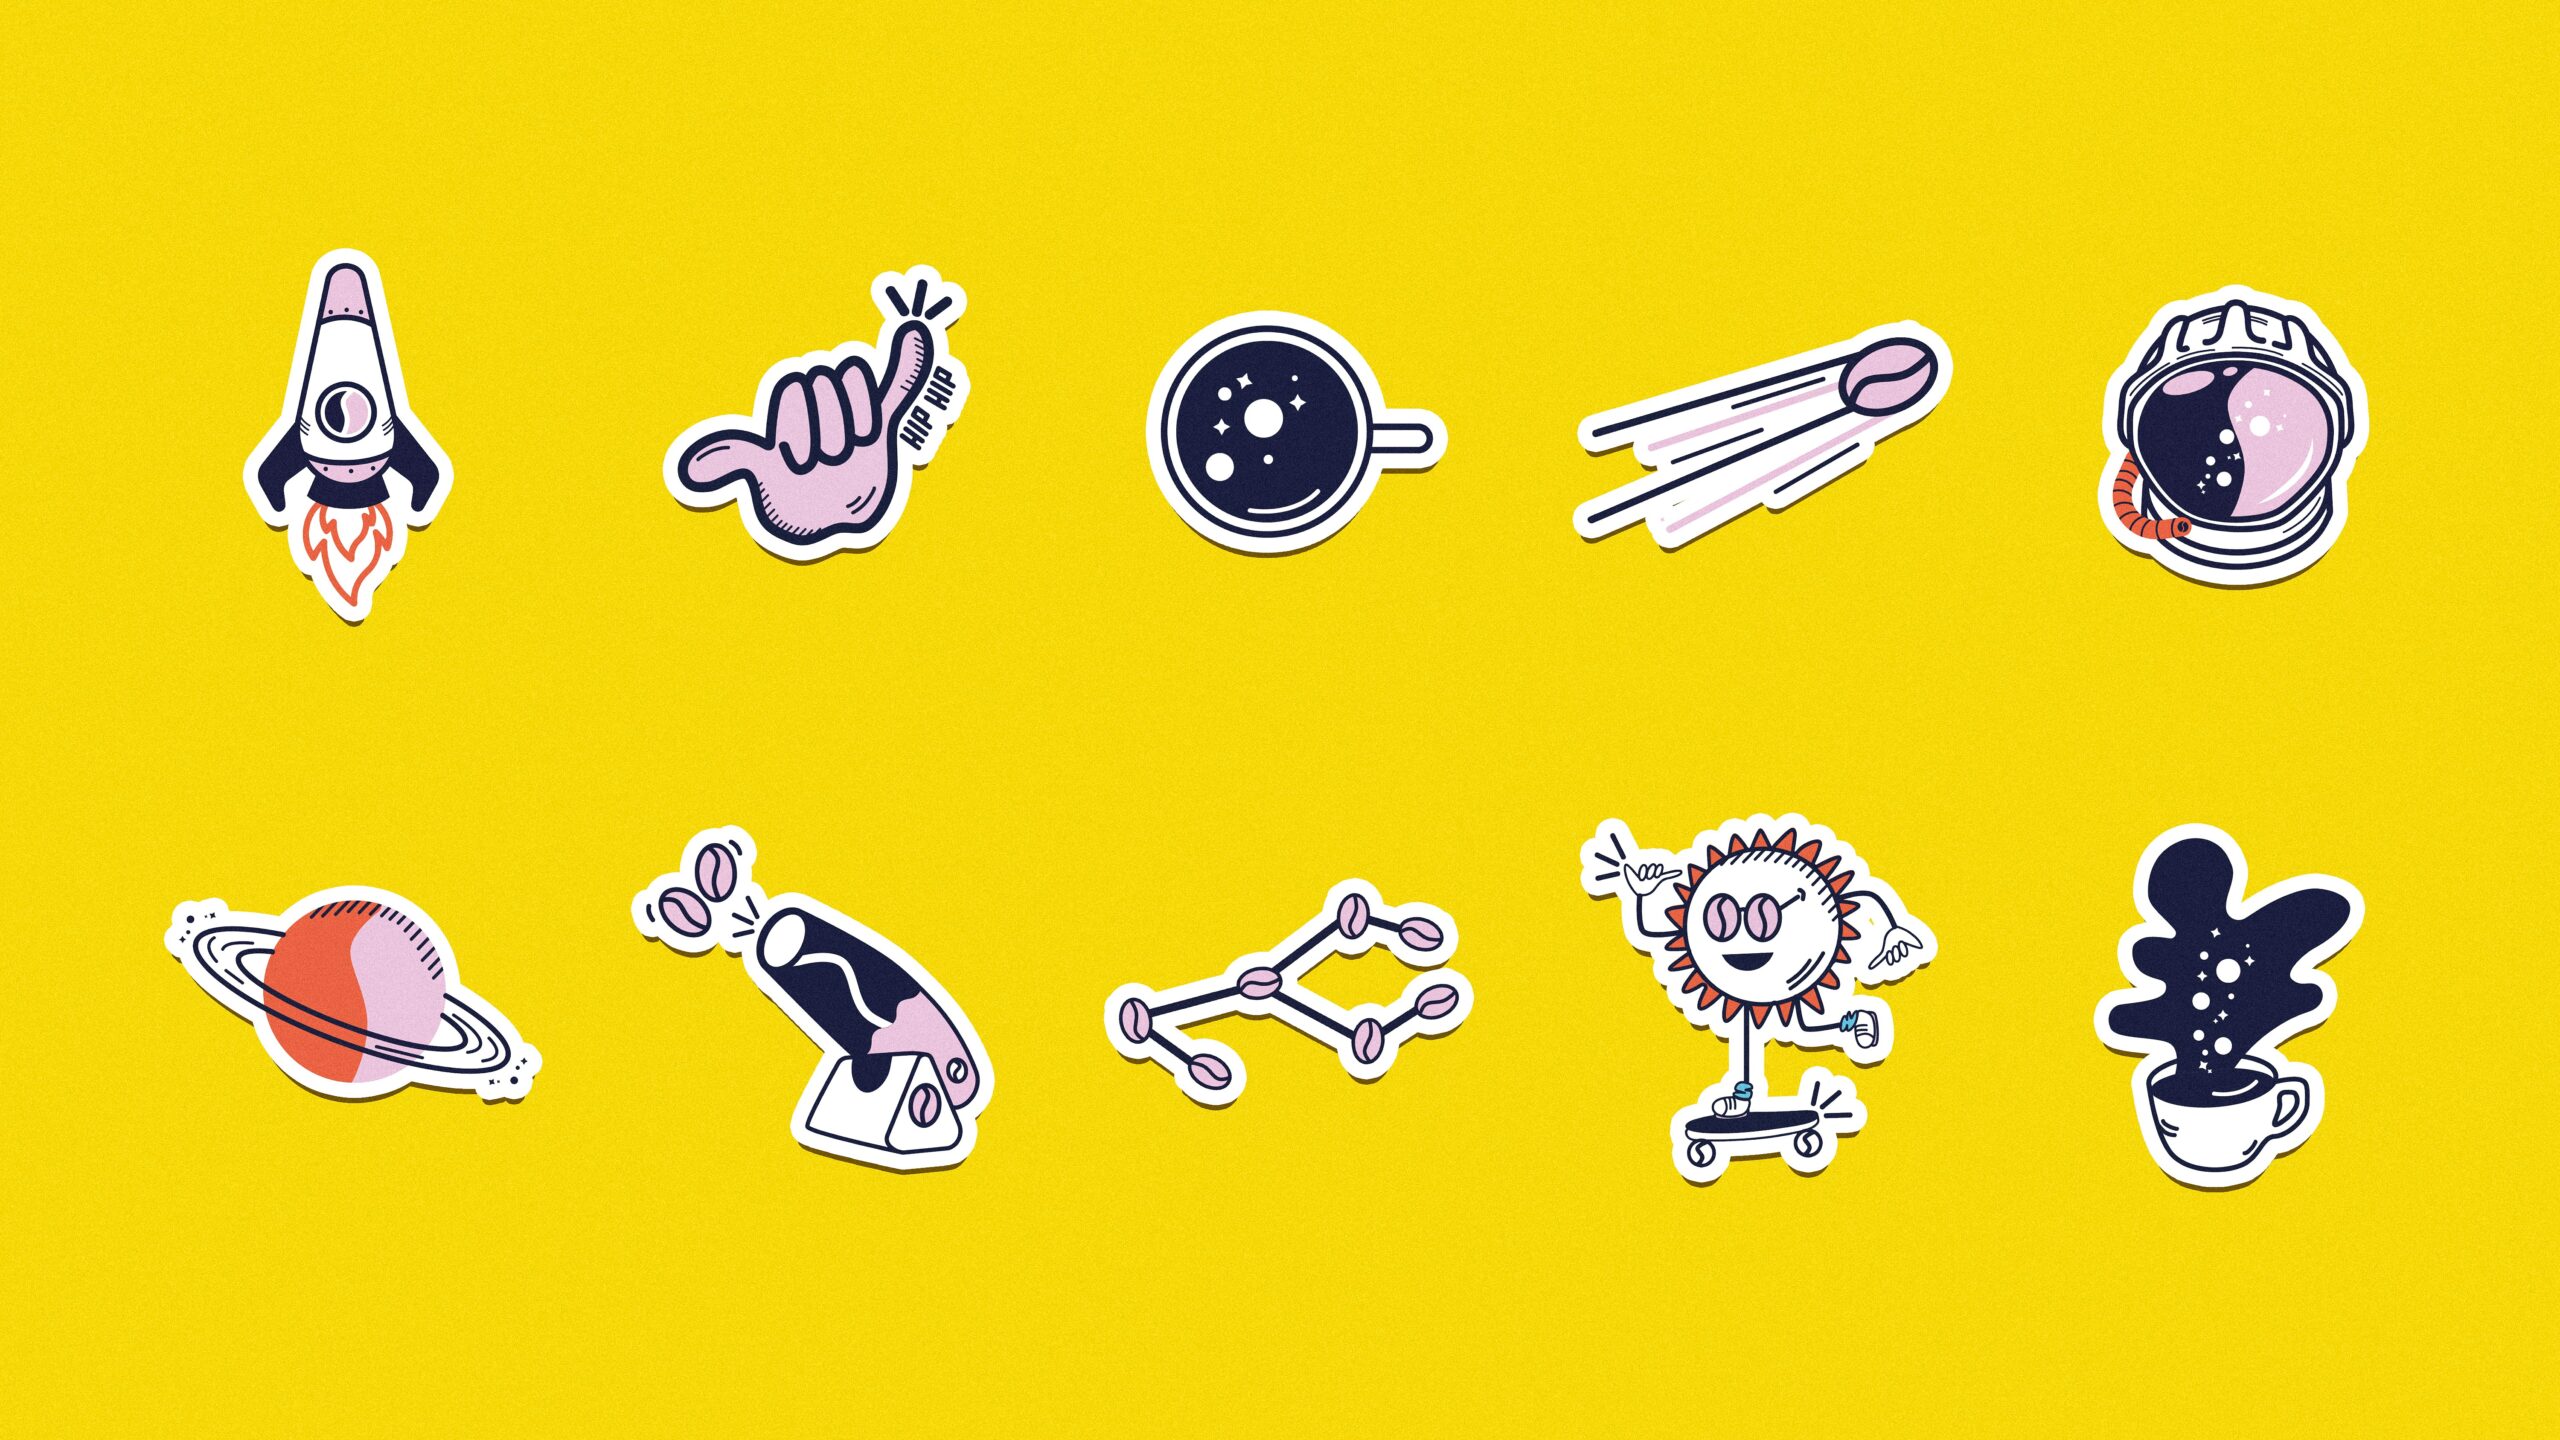
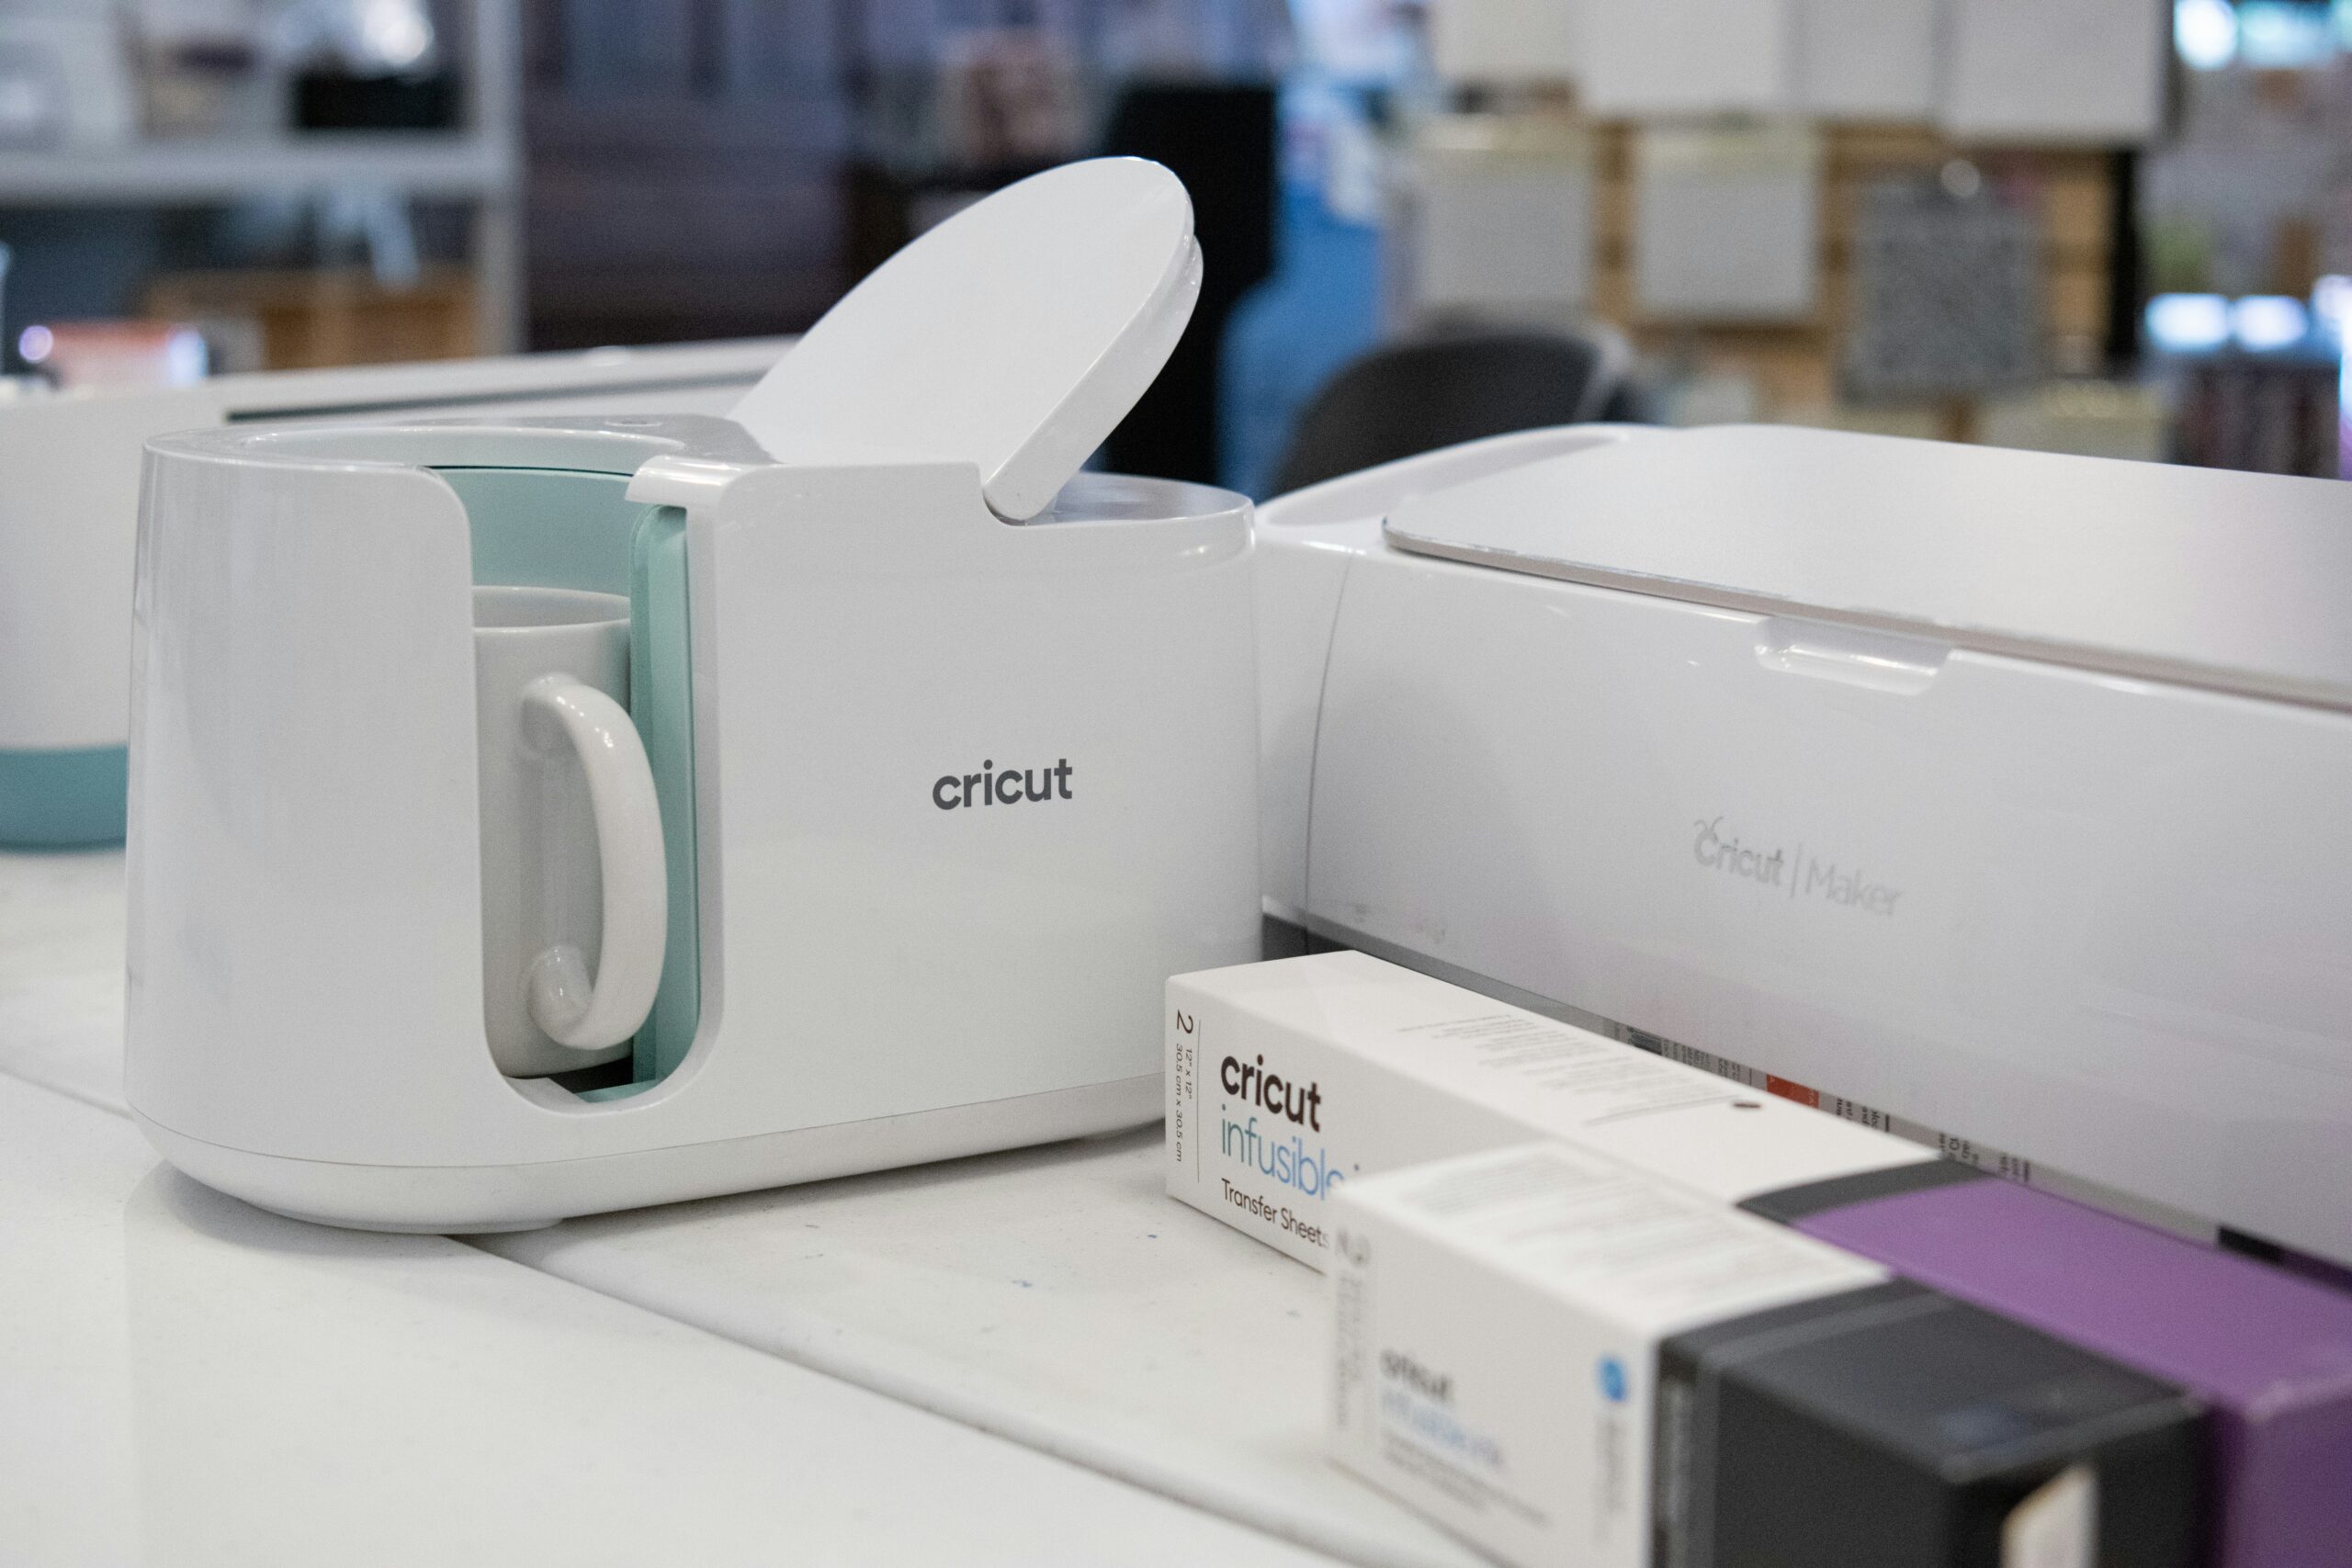
Alright, crafty friend! If you’re itchin’ to make your own totally unique stickers, you’ve come to the right place. With a Cricut cutting machine, you can create sticker magic for sticking wherever your heart desires. So let’s get into the nitty-gritty on how to make it happen!
What You’ll Need:
- Sticker paper or vinyl (the fun materials to cut your designs from)
- Weeding tool (this little hooked tool is the key to weeding out the extras)
- Transfer tape or clear transfer sheets (clear plastic overlays for moving your stickers)
- A cutting mat (this grip mat is crucial for running materials through the Cricut)
FREE
Cricut Material Shopping List
+ tips on how to save big bucks!
Step 1: Get Creative in Design Space
Design Space is the awesome software that’ll be your sidekick through this process. Open ‘er up and start a fresh project canvas. Now you can go wild importing images, adding text, drawing your own designs – whatever sticker visions you have! Just be sure to size everything for your intended sticker dimensions.
Step 2: Prep That Mat
The cutting mat is vital for this shindig. Use the grip mat or a little spritz of water to firmly adhere your sticker material flat on the mat, no wrinkles! Then load that prepped mat into your Cricut machine, selecting the correct settings for your material.
Step 3: Cut It! Cut It Real Good!
This is the fun part – sending your rad design to the Cricut to slice out those sticker shapes with precision. Watch it work its meticulous magic!
Step 4: Weed Like a Pro
Weeding = removing all that excess sticker material from around your freshly cut design. Grab your weeding tool and carefully peel away the stuff you don’t need. For intricate designs, you might need to go slowly and use tweezers or a pin for the tiny pieces. Good lighting and a steady hand are key!
Step 5: Transfer Time!
Now you’ll use that transfer tape or clear transfer sheet to lift your full weeded sticker design off the backing. Lay it over top, run a scraper tool across to adhere it well, then peel away the original backing. Your sticker will be attached to the clear transfer layer – slick!
Step 6: Stick ‘Em!
You’re in the home stretch! Peel off that top transfer layer to expose your custom sticker design. Position it wherever you want some new flair, then use that scraper tool to really adhere it down by applying pressure over the whole piece.
And bam! You’ve got fresh handmade stickers to embellish all the things. With Design Space and your Cricut, you can churn out an endless supply of personalized sticker designs. Get creative with layering, patterns, fonts – the options are unlimited! Soon you’ll be a sticker-making extraordinaire.


Leave a Reply